In this article, you learn how to become a Consultant. This is a service offered to urLive Pro members. As a consultant on the urLive platform, you can schedule calls with clients, track billable time, issue invoices, and get paid.
Consulting is useful for many purposes, for example, lawyers, nurses, accountants, therapists, teachers, tutors, and many other professionals can utilise this feature to offer billable online service to their clients. urLive allows you to add as many consulting services as you like to a single pro account.
The first step in becoming a consultant is purchasing a Pro plan. To learn how to do this, see the How to Purchase a Pro Plan article, or follow the steps below.
Please note that Consulting is in BETA, and we appreciate your feedback on this feature!
Purchasing a Pro Plan
On your urLive dashboard, click the settings icon in the lower left corner of your screen, then click Consulting Dashboard.

If you are not a pro member, the consulting dashboard will display an Upgrade to Pro button.
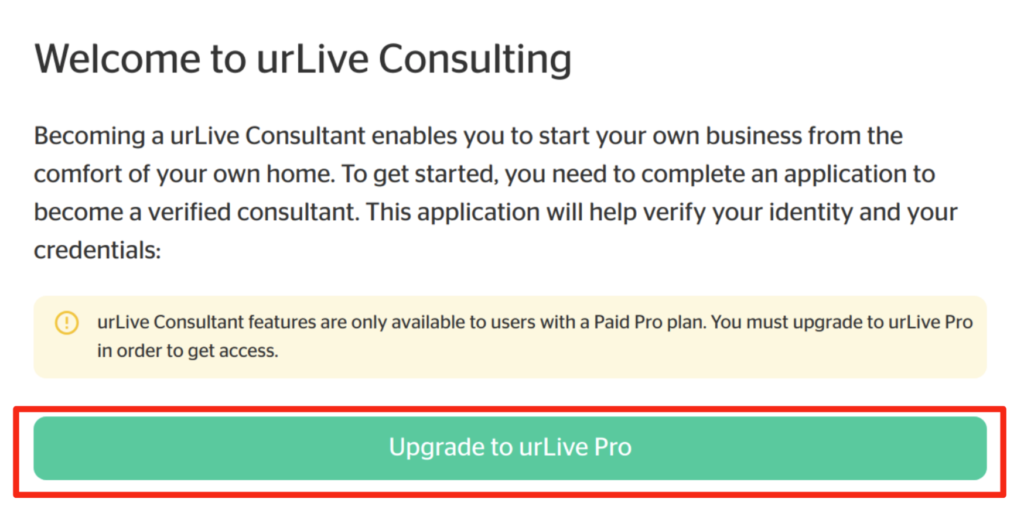
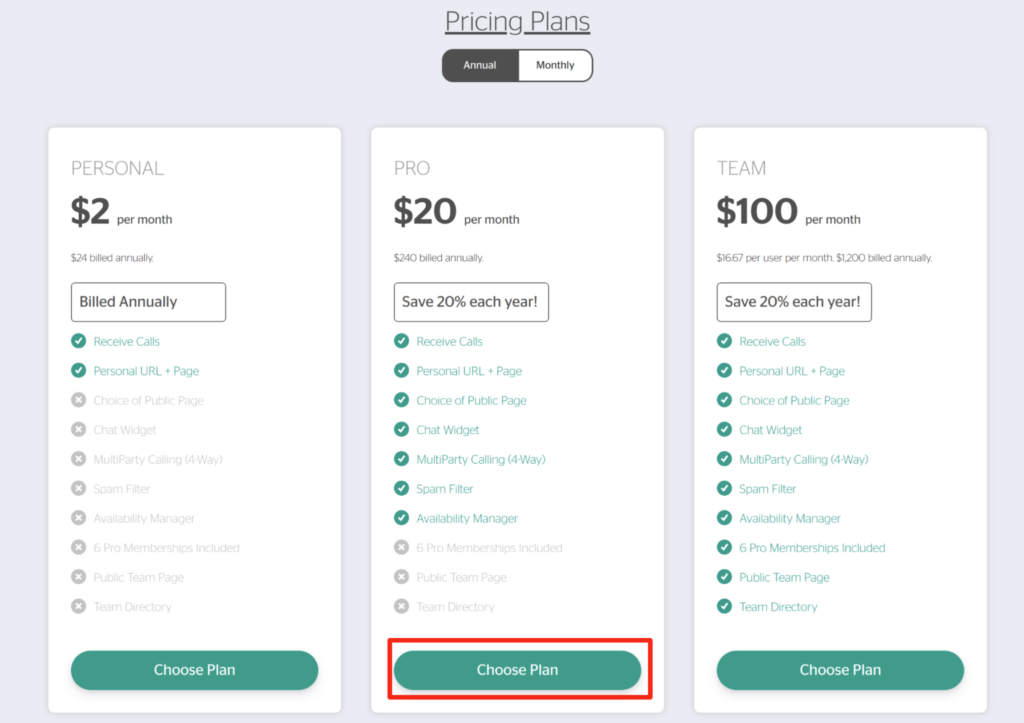
Once you click this button, the Pricing Plan page will open. On the Pricing Plan page, choose the PRO plan.
- Select the Annual payment option to get a discount.
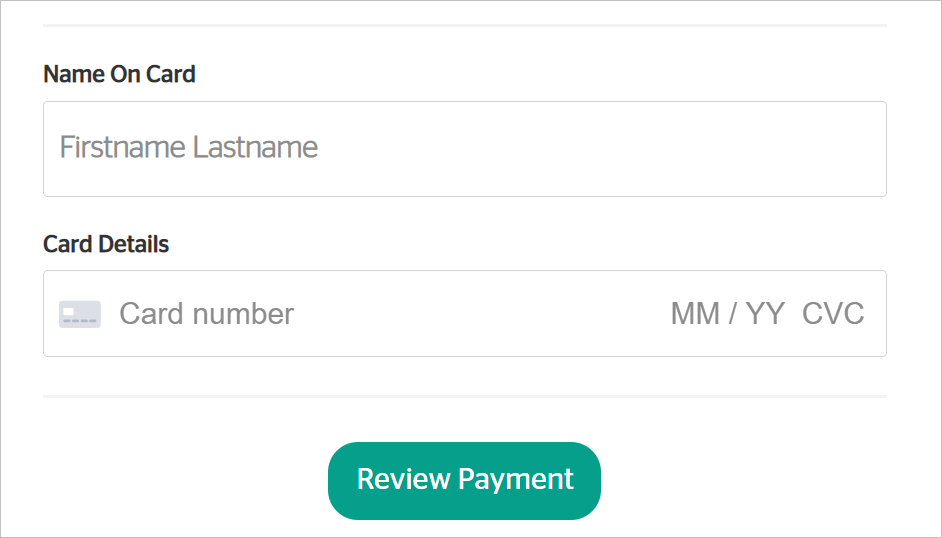
- Enter name and credit card information and then click Review Payment.
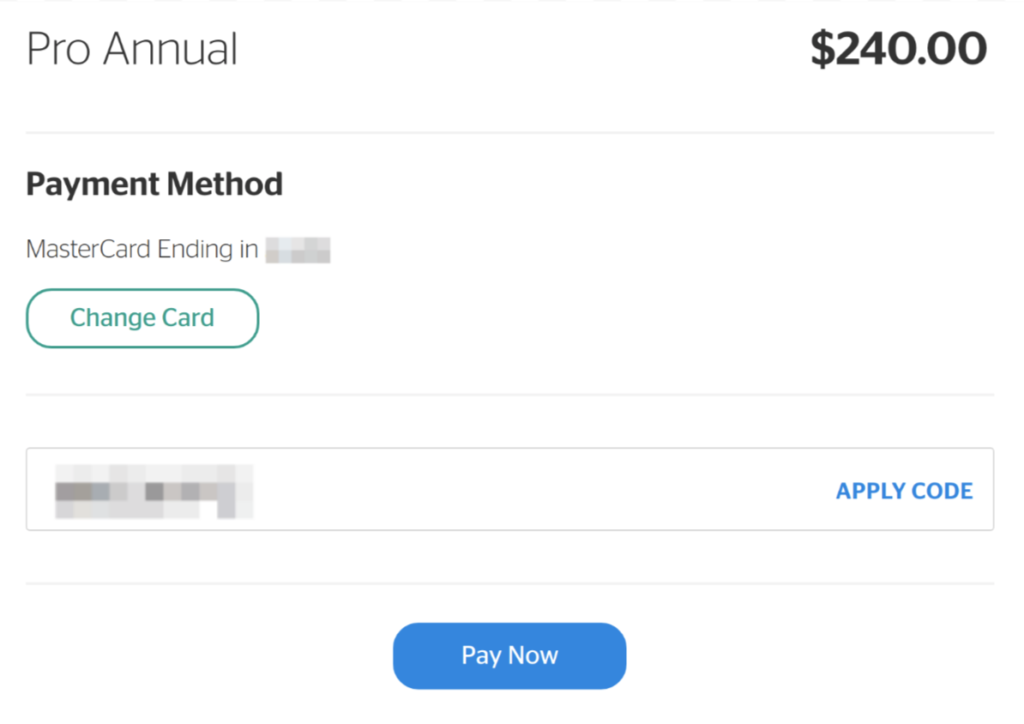
- On the next page, review the details, add a discount code (if available), and click Pay Now to complete the transaction.
- On the Thank You page, click the View My Account button. The My Account Page displays.
- Check your email for a transaction receipt that confirms the payment.

Pro subscriptions are, by default, set to auto-renew every pay period. To learn how to disable this feature, see the How to Turn Off Pro Plan Auto-Renew article.
Consulting Set Up
Once you purchase your Pro plan, go back to your Consulting Dashboard
The consulting dashboard will now display a step-by-step guide of what you need to do to set up consulting.
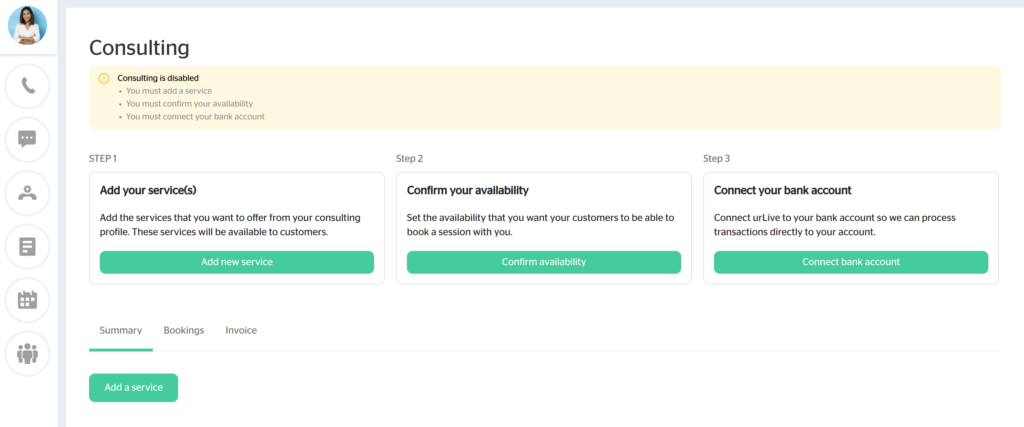
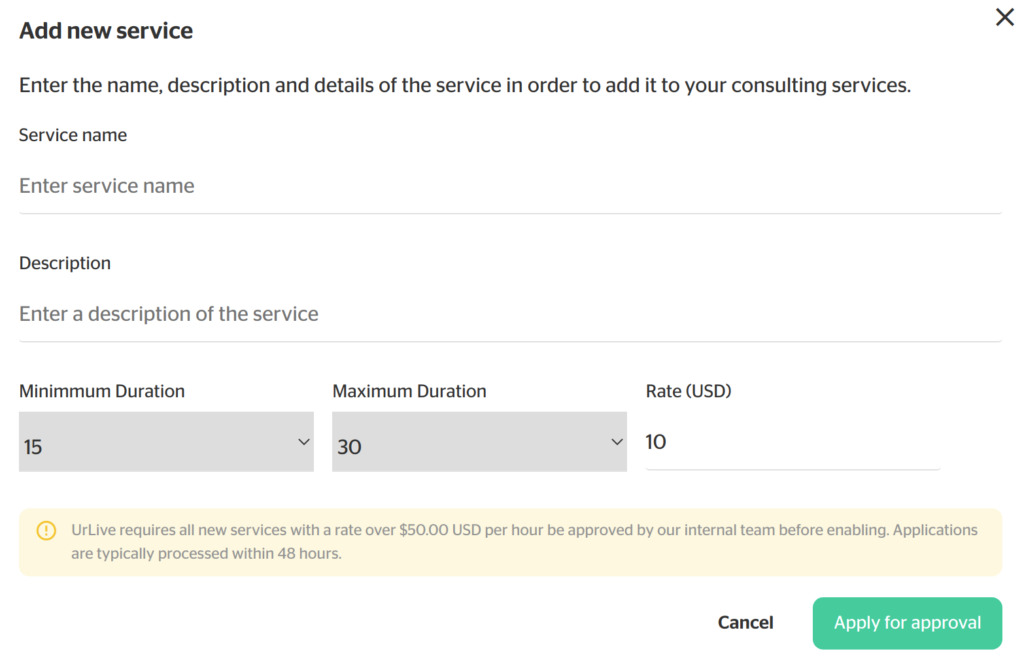
First, you have to add a service. This involves entering a name, description, duration, and rate (per hour). Clicking the Add a service button displayed under STEP 1 opens a window to add a service. To learn more about adding a service, see the How to Add Services article.
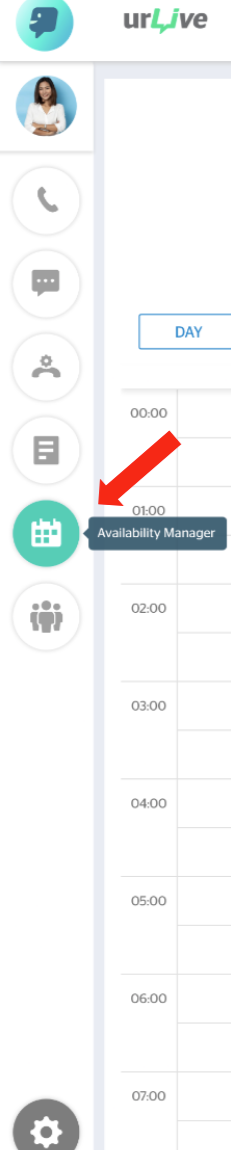
Next, you must set your availability. Clicking the Confirm availibility button displayed under STEP 2 opens the availability manager. This is also accessible through the sidebar menu. To learn more about adding availability, see the How to Set Your Availability article.
The final step is to connect the bank account you would like to receive consulting payment through. This is done through a secure banking service called Stripe. This step allows customers to easily pay you through urLive. To learn how to do this, see the How to Add Banking Information article.
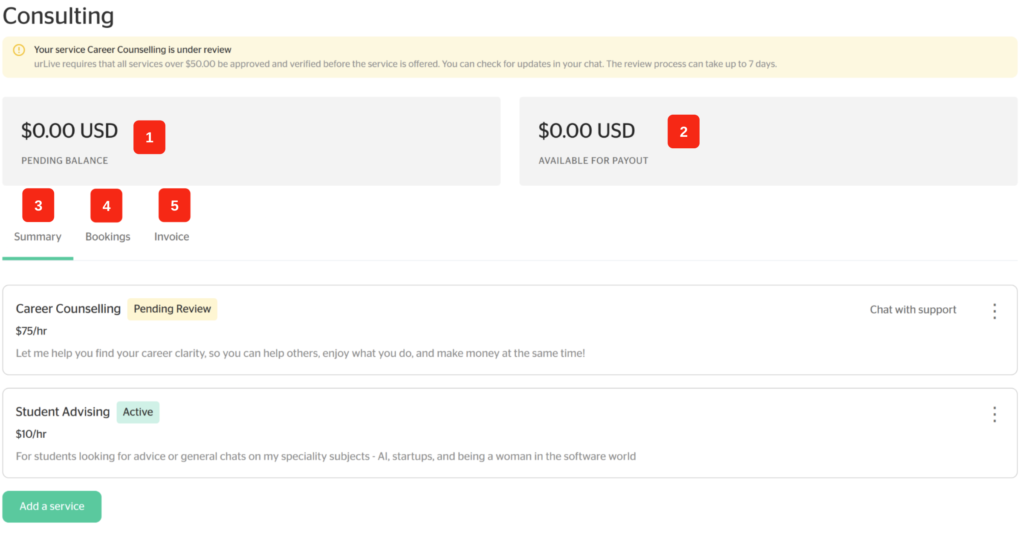
Once you finish all three steps, your consulting dashboard will display:
- Your pending balance,
- The amount available for payout, and
- A Summary tab which contains a list of the services you have set up. Services which have not yet been approved will display as Pending Review, and those which have been approved will display as Active.
- A Bookings tab which displays your past and future consultant call bookings
- An Invoice tab which displays invoices you are owed / have been paid by your clients.
By default, there is a FREE call service placed on your public page, for clients to book introductory meetings without having to pay in advance. To learn how to disable the FREE call feature, click here.