The following scenario has been created to exemplify the team setup process. The process begins when the Manager of an example company, urStyle Co., decides to set up a team page for her employees. The retail fashion company is in need of a team page to allow customers to instantly connect with the sales team. Each team member has different expertise. The urLive team setup is ideal for a company such as this, as it allows customers to call the team, and team members to redirect the call to the relevant expert team member.
Team Setup
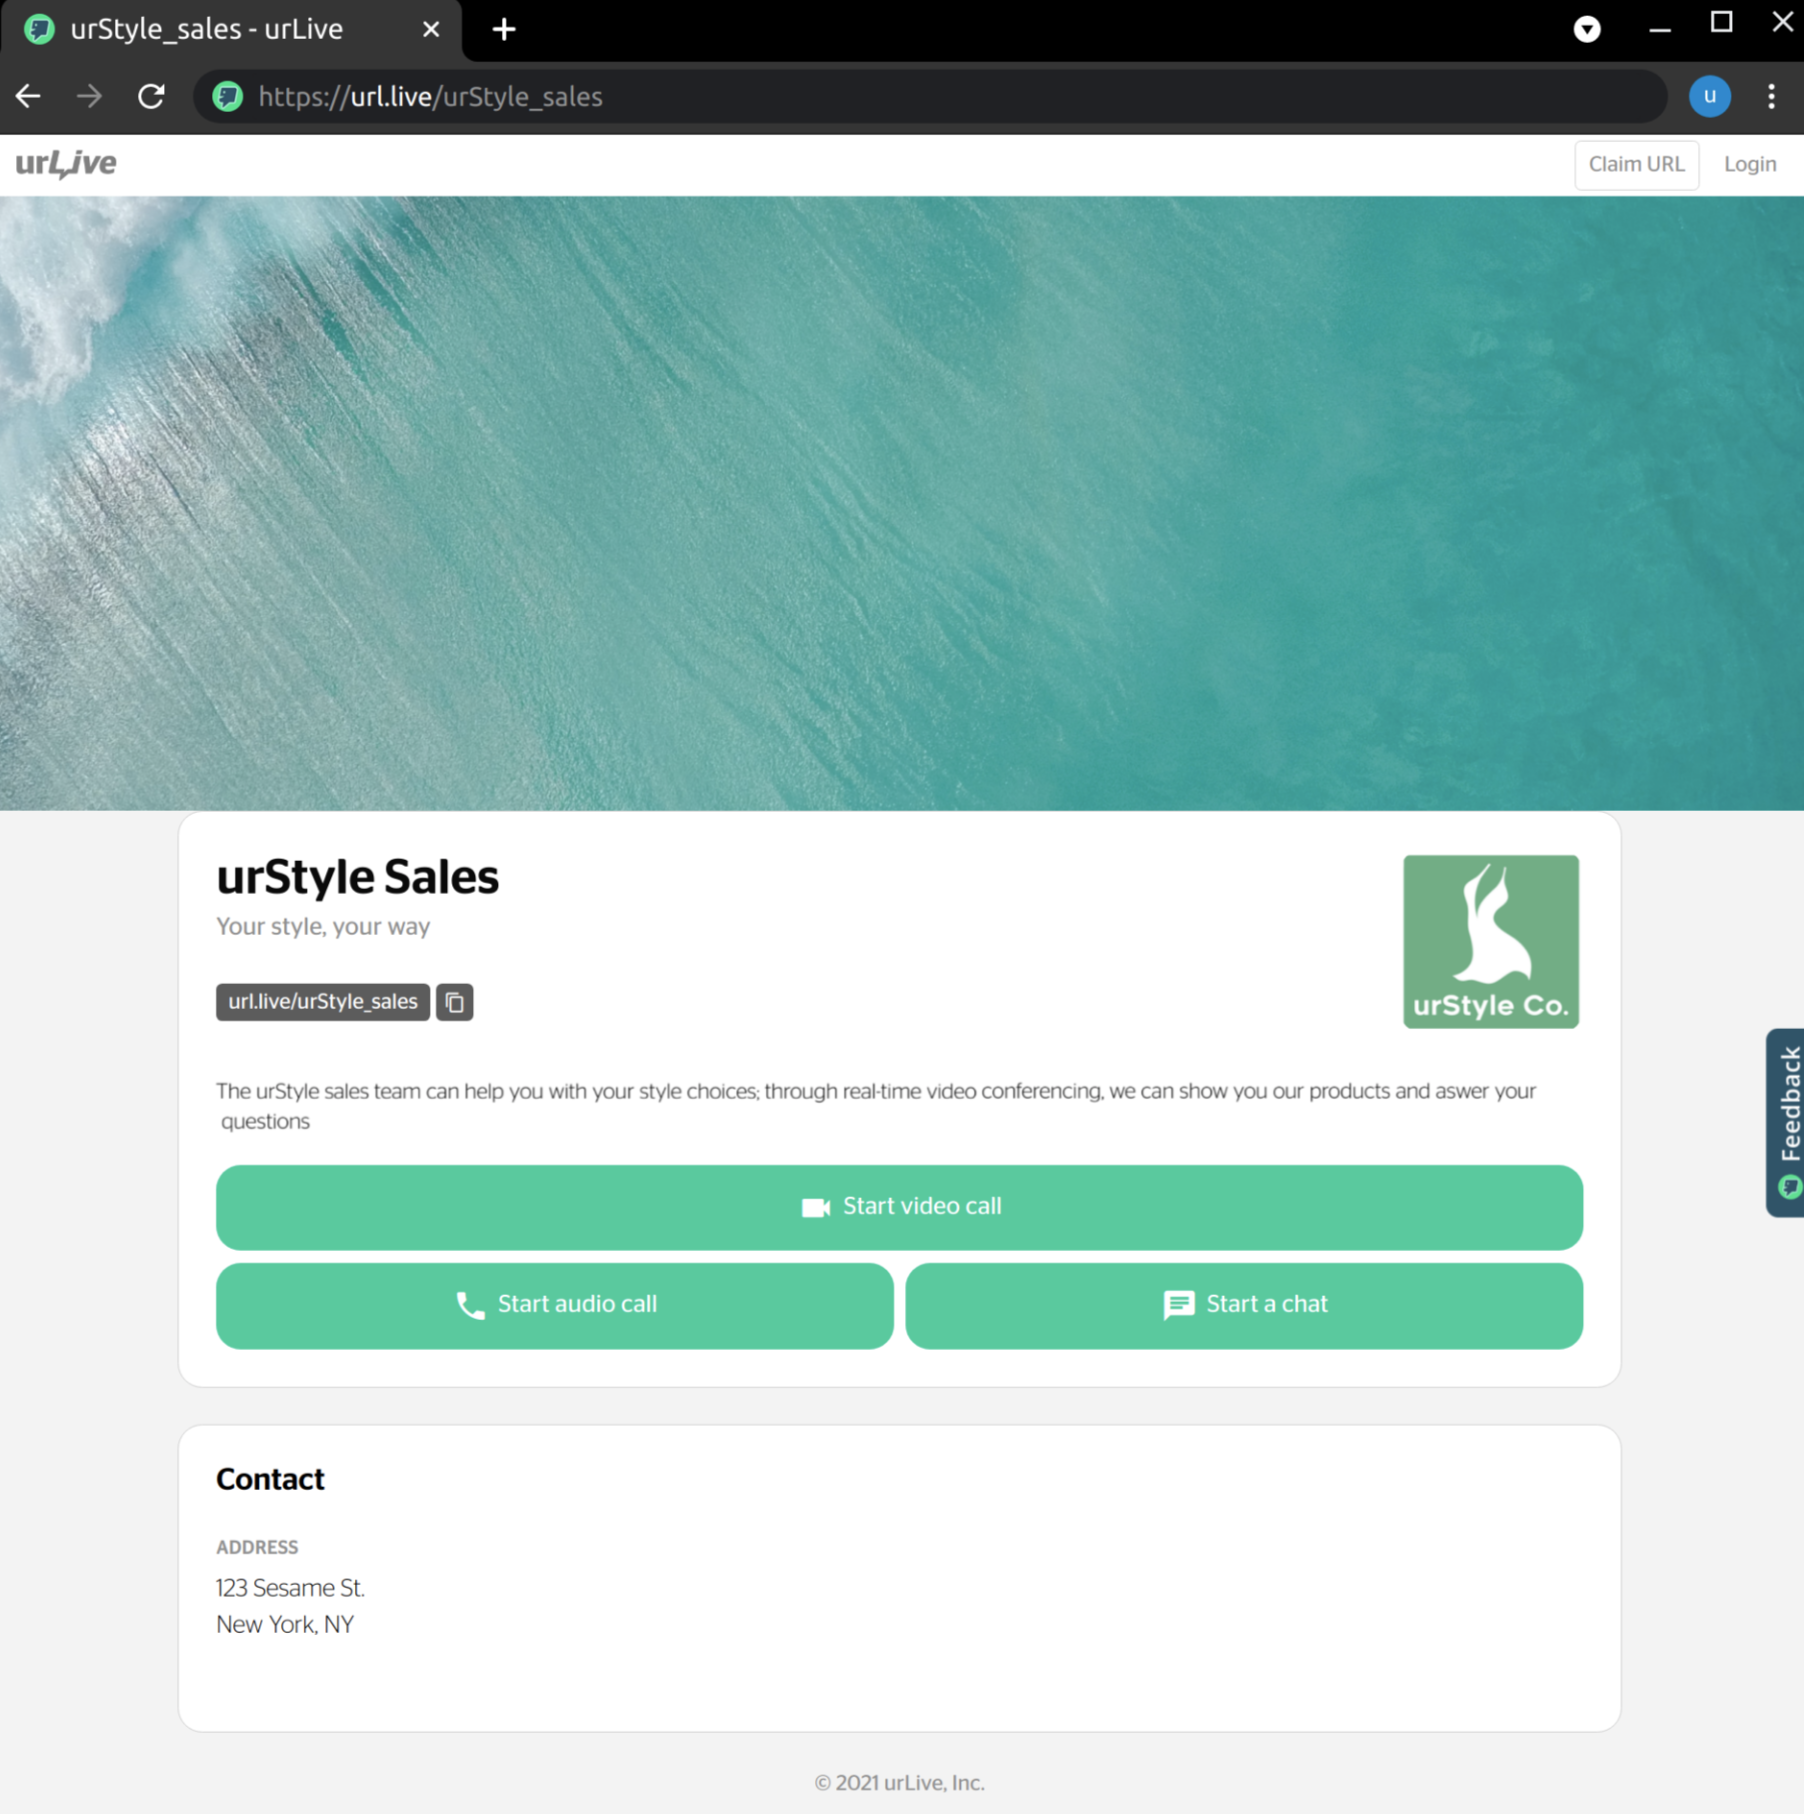
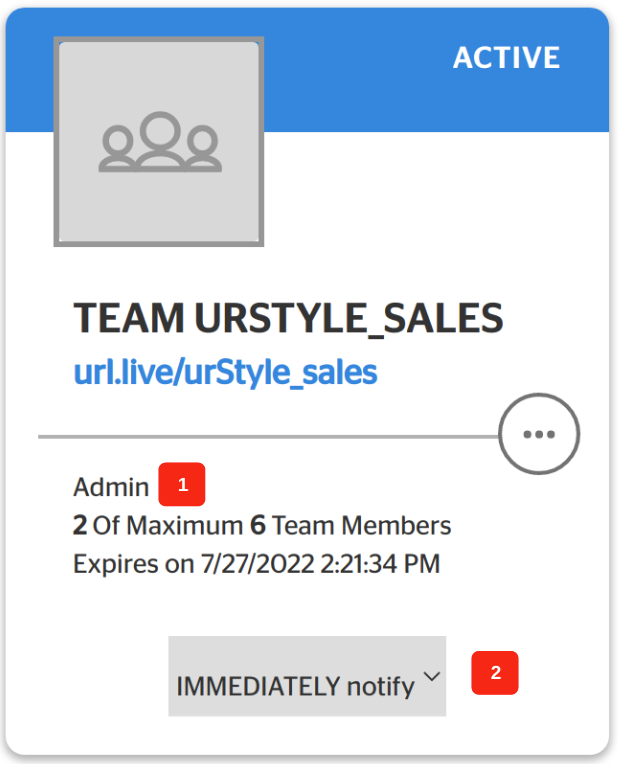
1) First, the Manager of urStyle Co., Maria, logs into her free account on urLive. She then follows the steps to Purchase and Activate her team. The new team page looks like this:

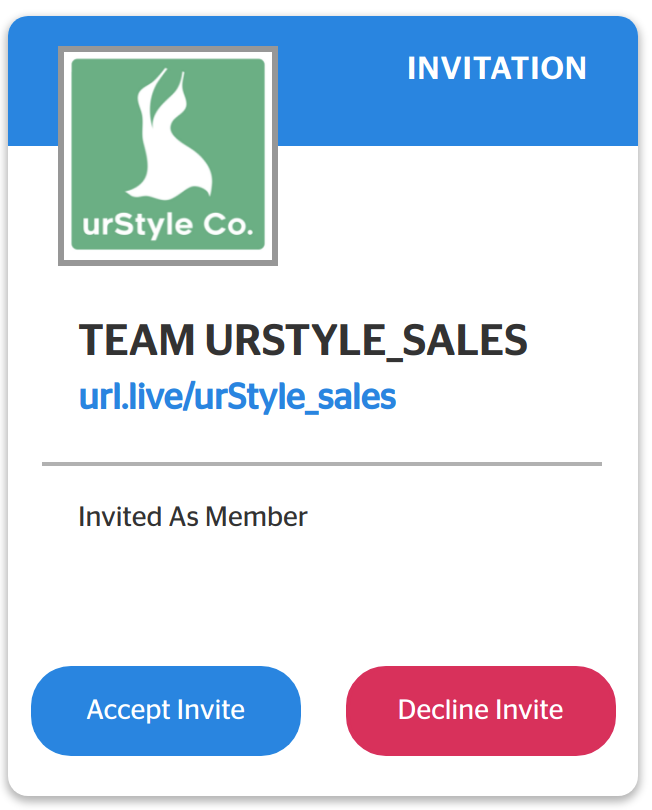
2) Once the urStyle sales team is activated, Maria follows the steps to Invite Members to the team, in order to add the Assistant Manager, Adam. As outlined in the invite members article, the first step is to invite the Adam to join urLive.

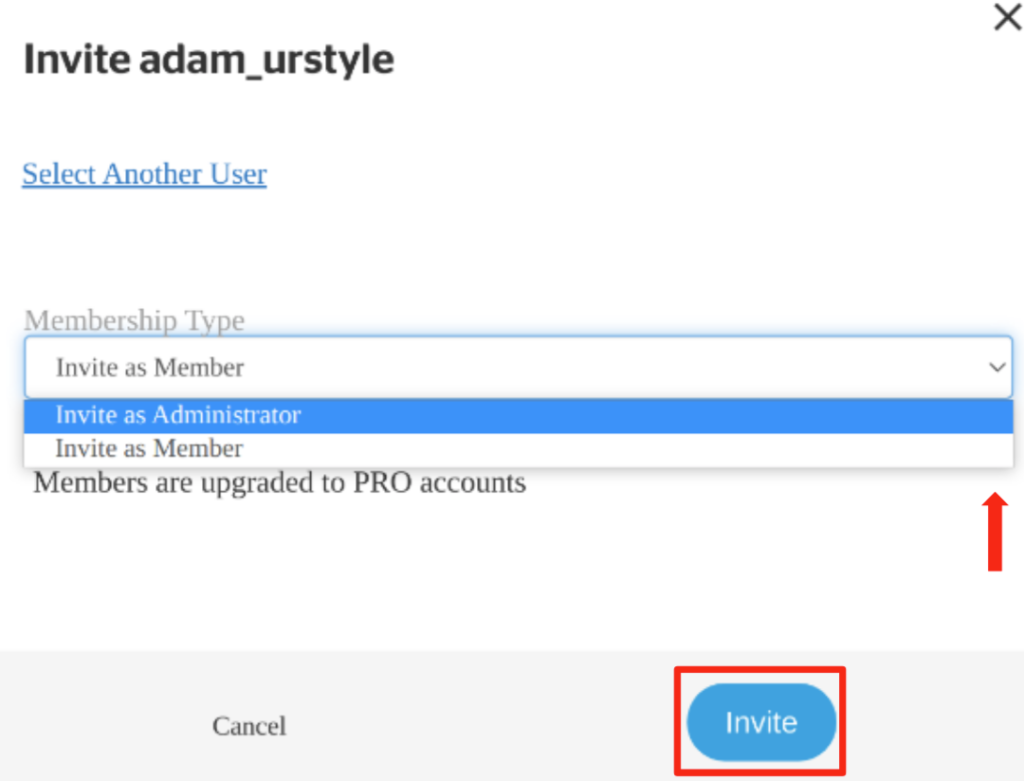
4) Adam creates a free account on urLive using Maria’s invite link, which was sent to his email using the button above. Once Adam is finished setting up his urLive account, Maria invites him to join the team as an Admin. Inviting Adam as an Admin allows him to manage the team page, just as Maria is able to.


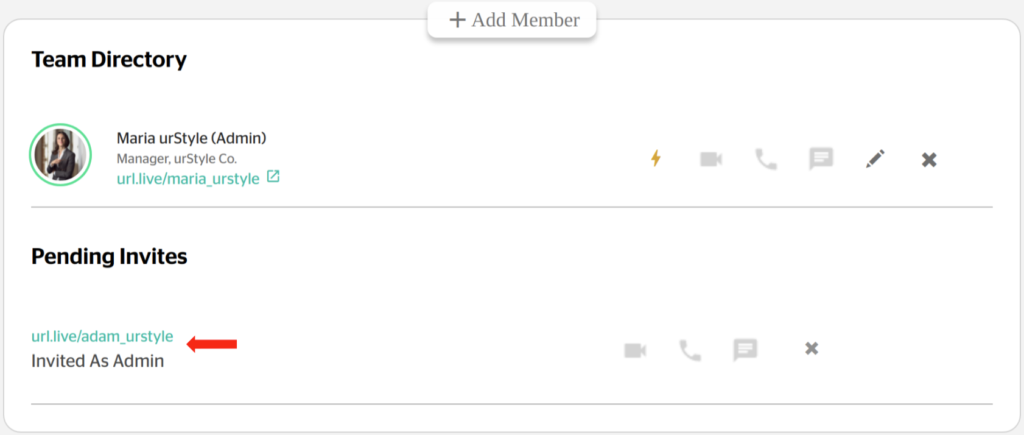
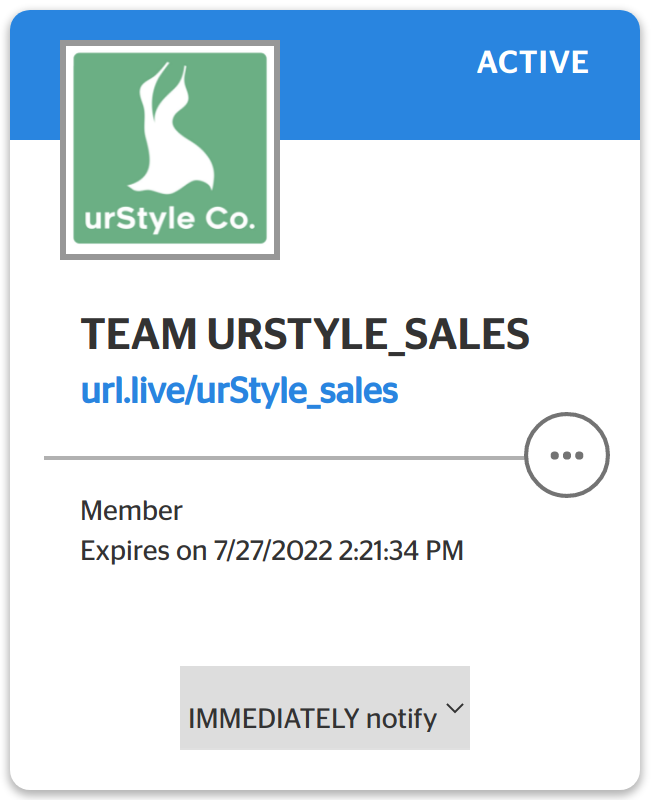
3) Adam accepts the invitation to join the team. By accepting the invite, Adam’s account is automatically upgraded from Free to Pro, at no extra charge. This happens with all invited members upon accepting the invite.
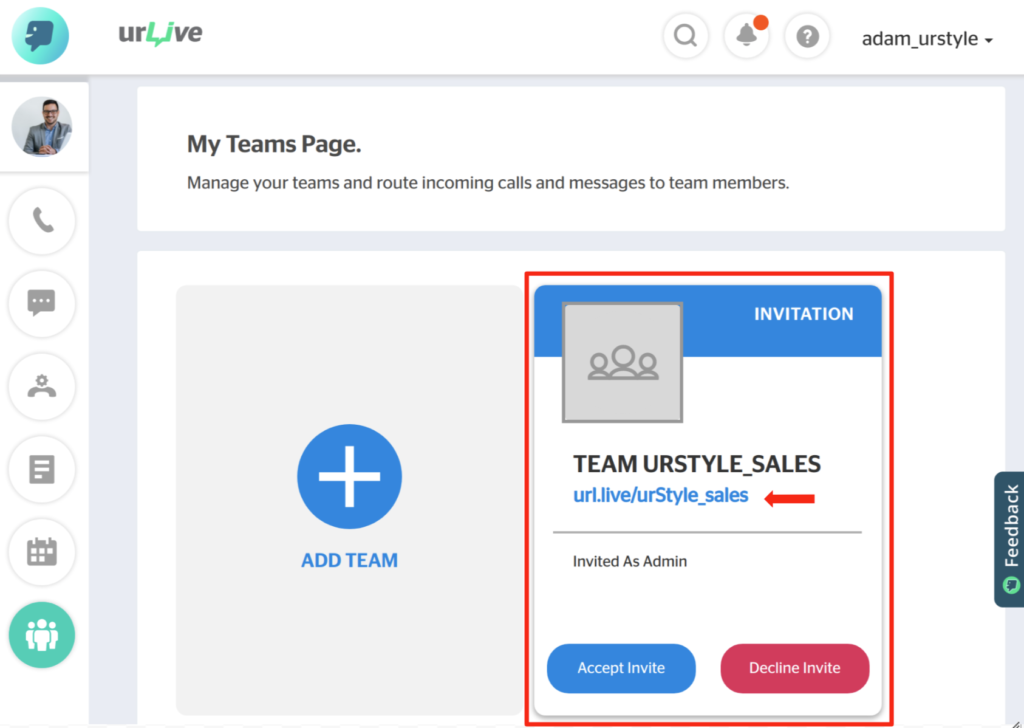
- Once Adam has accepted the invite, his team card looks like this:
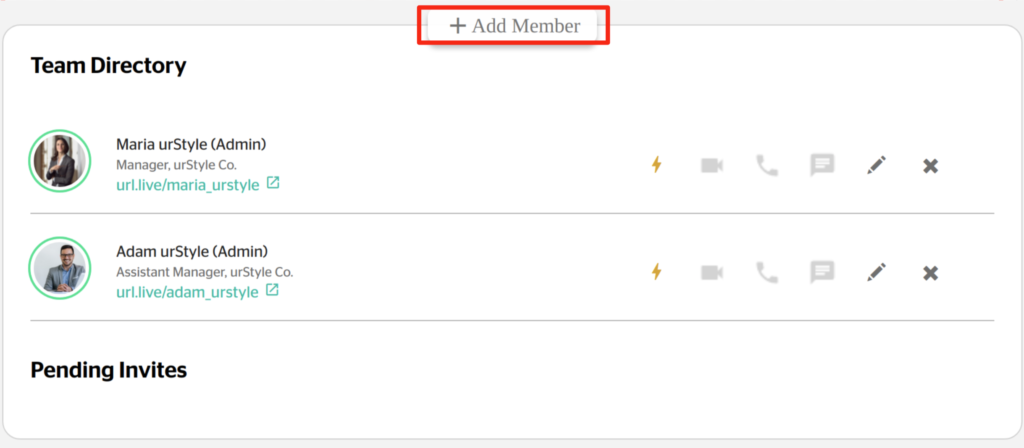
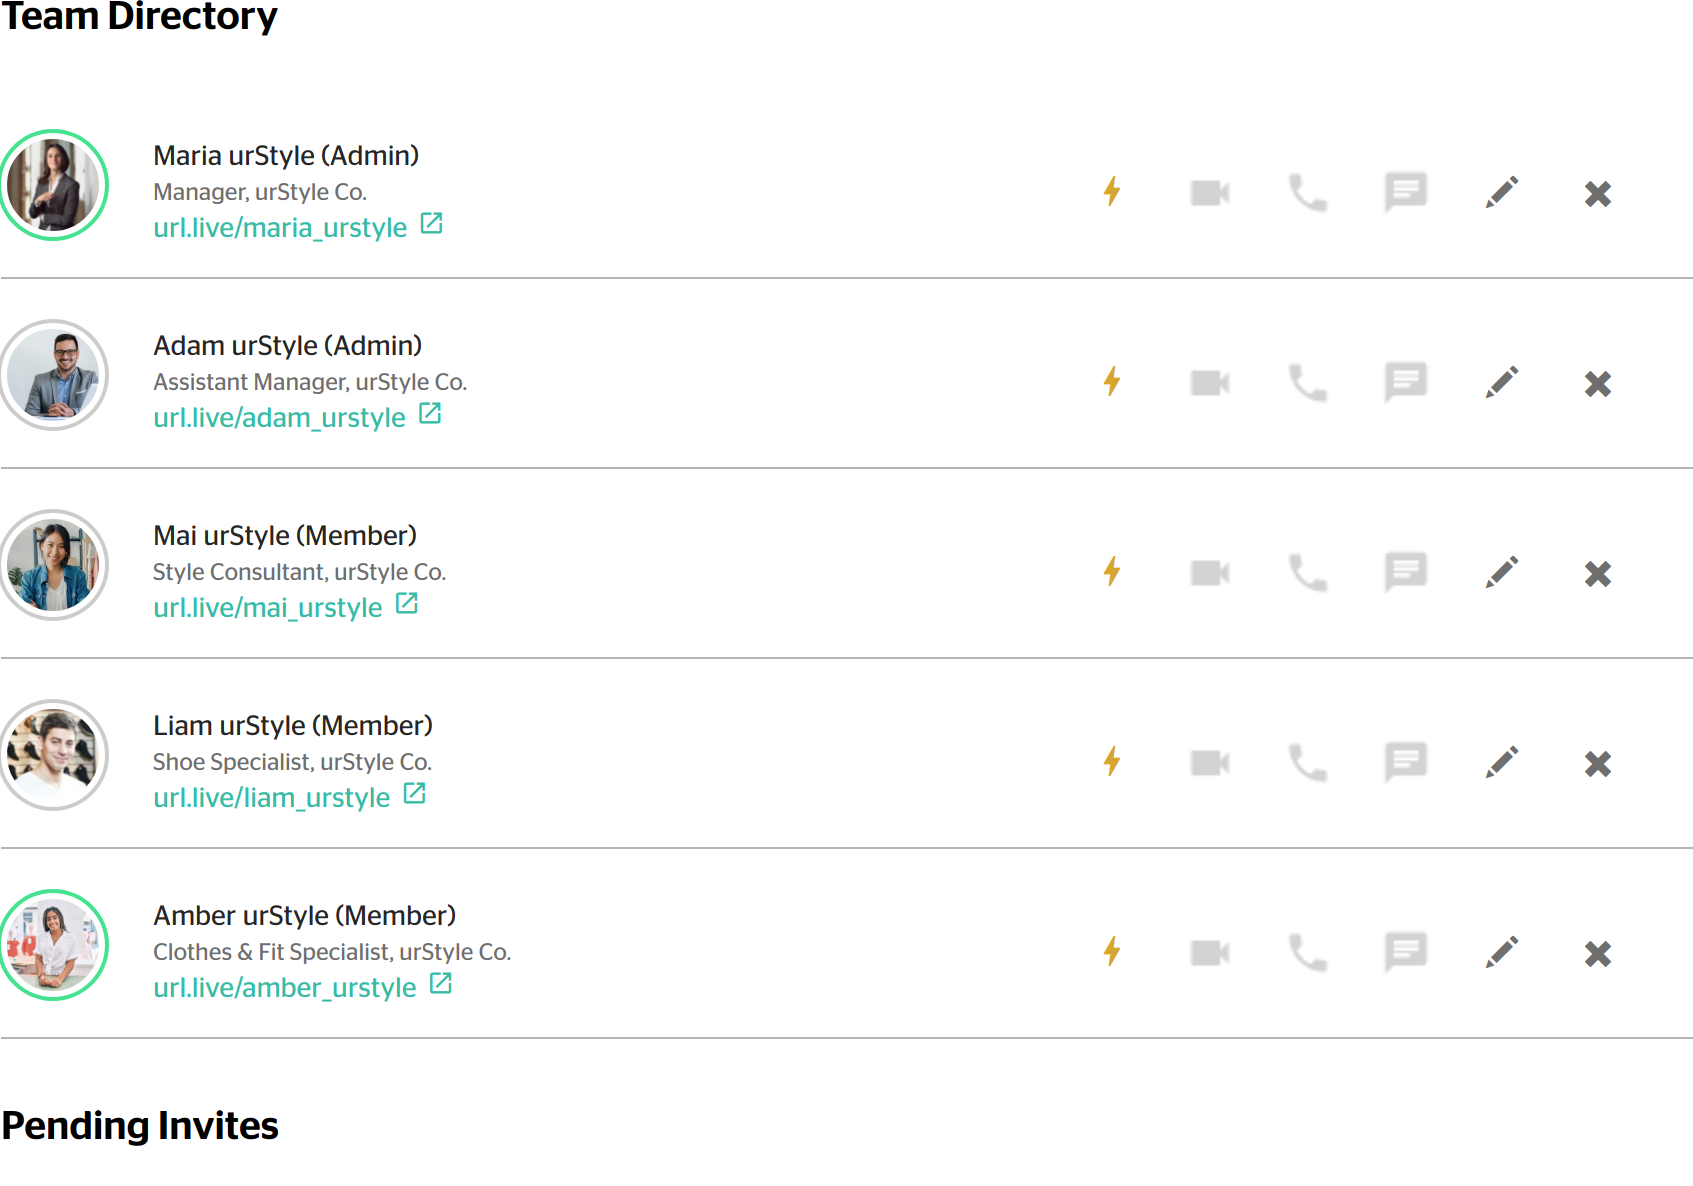
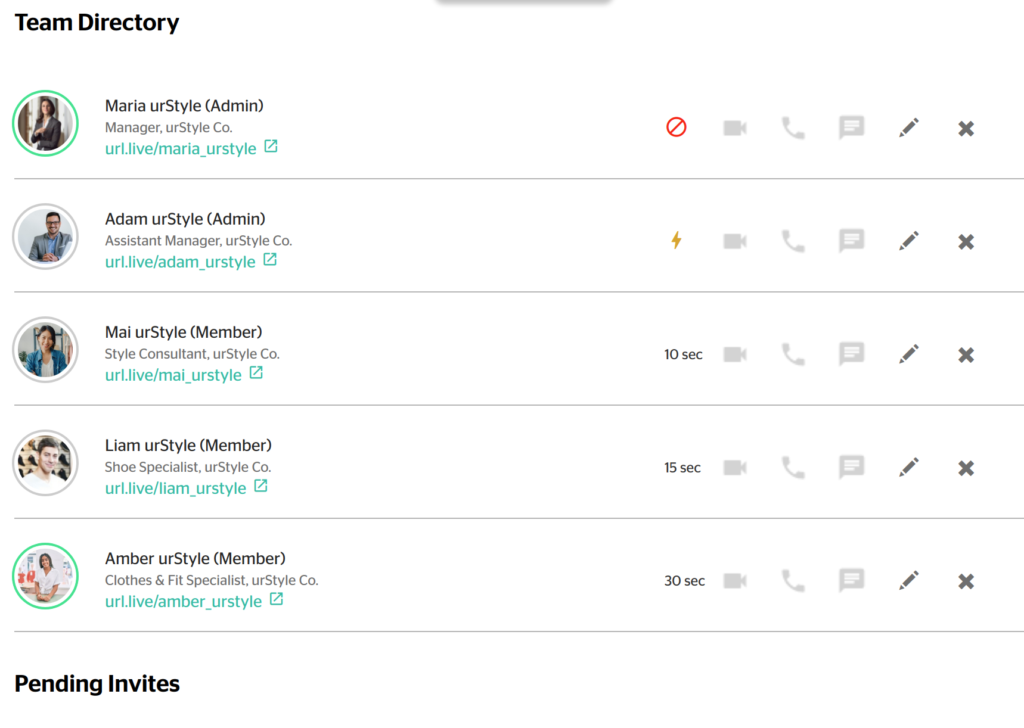
- And the team directory looks like this:

5) Maria asks Adam to invite the rest of the employees, and finish setting up the team page. Adam invites the rest of the employees, Mei, Liam, and Amber, to join urLive. Once they create their free accounts, Adam invites them to join the team as members.
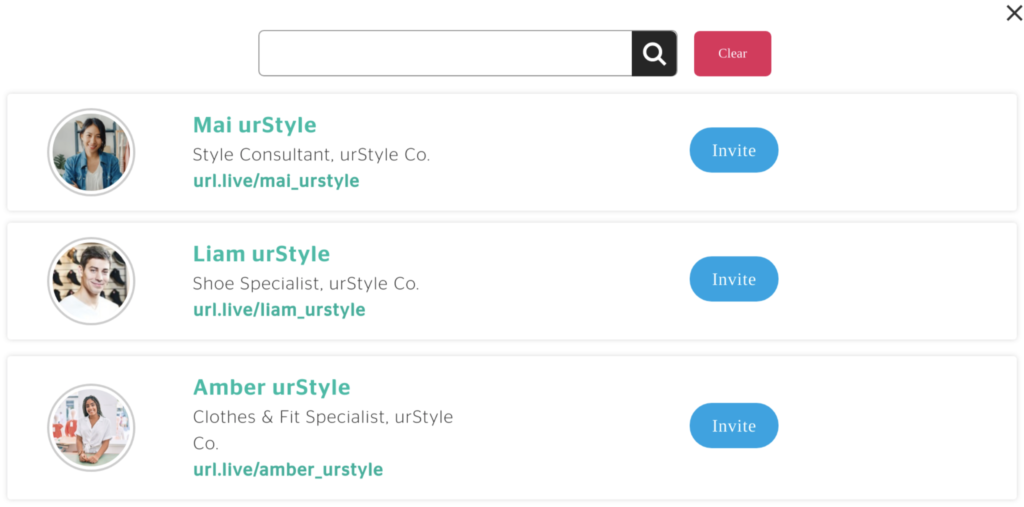

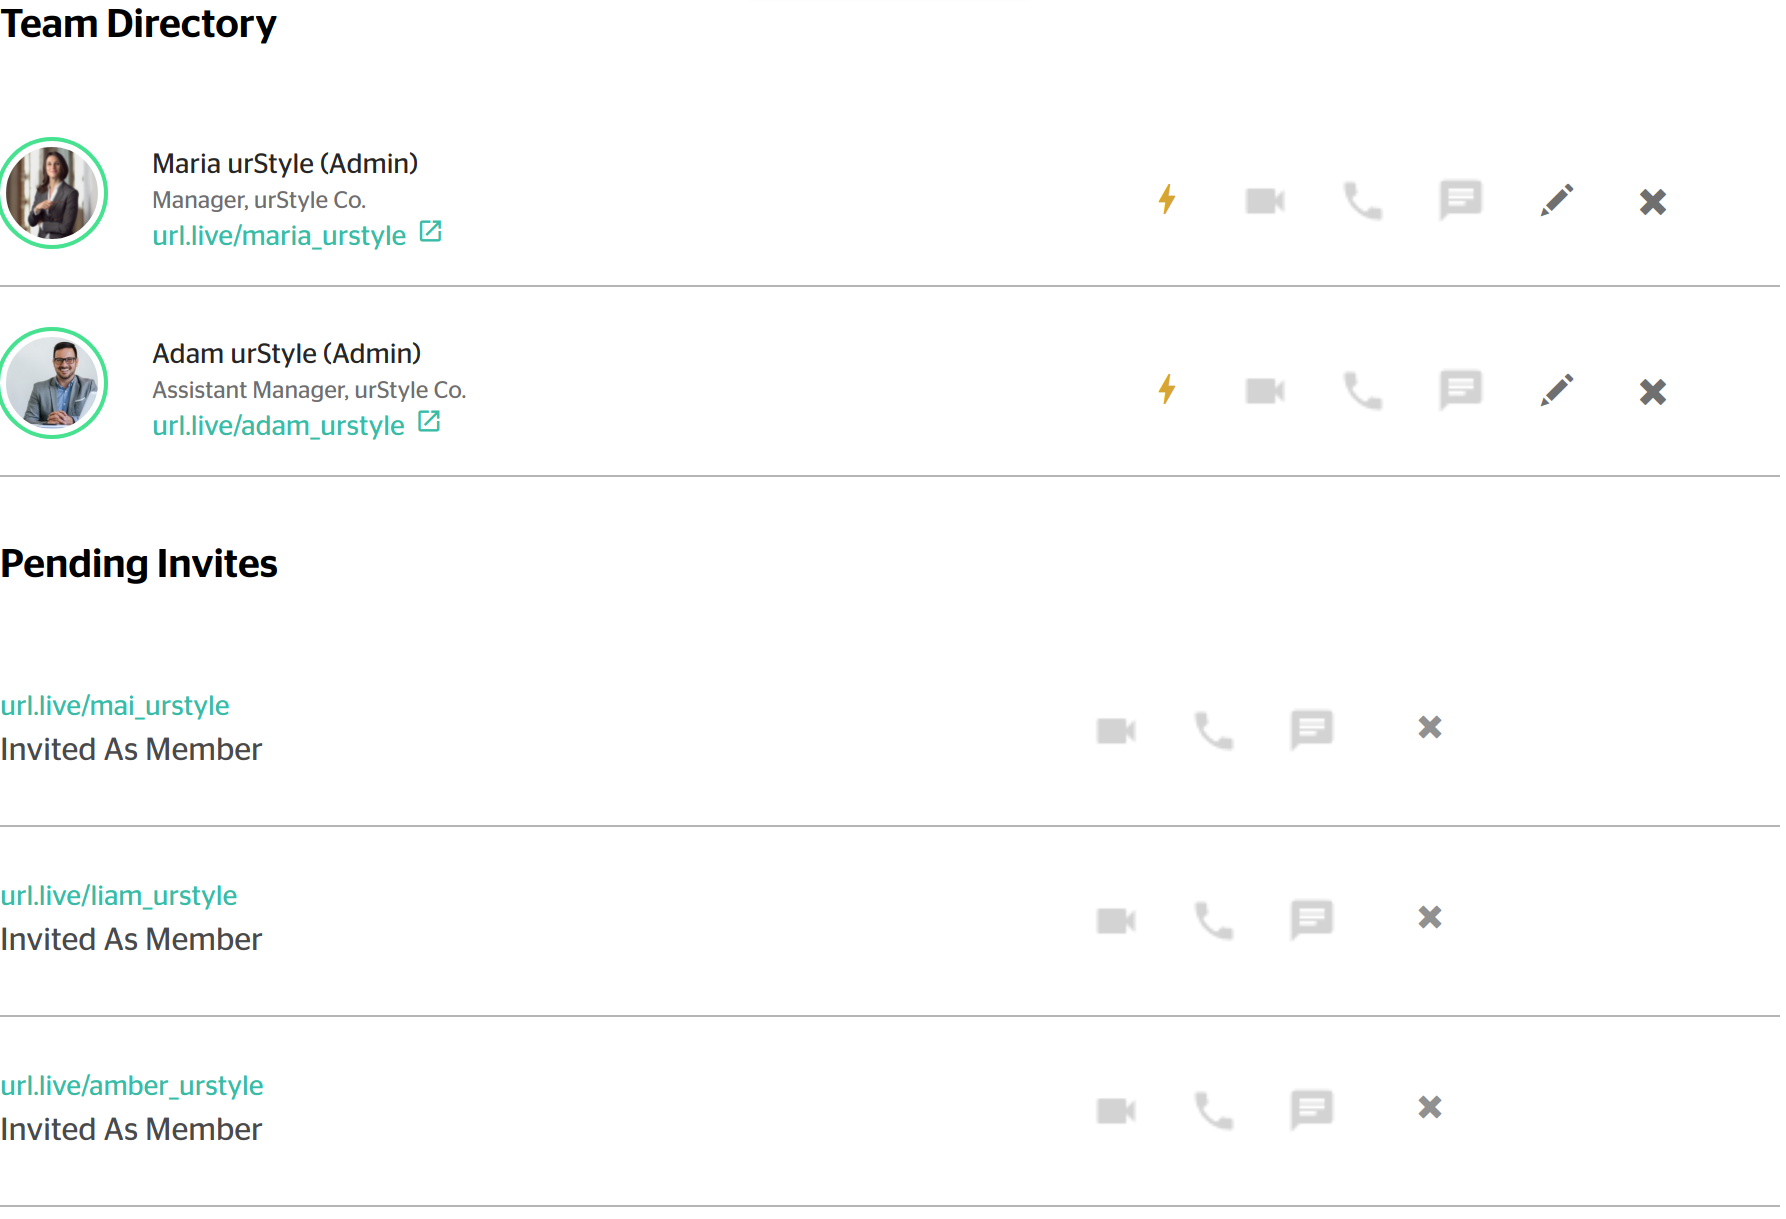
6) Mai, Liam, and Amber accept the team invites.
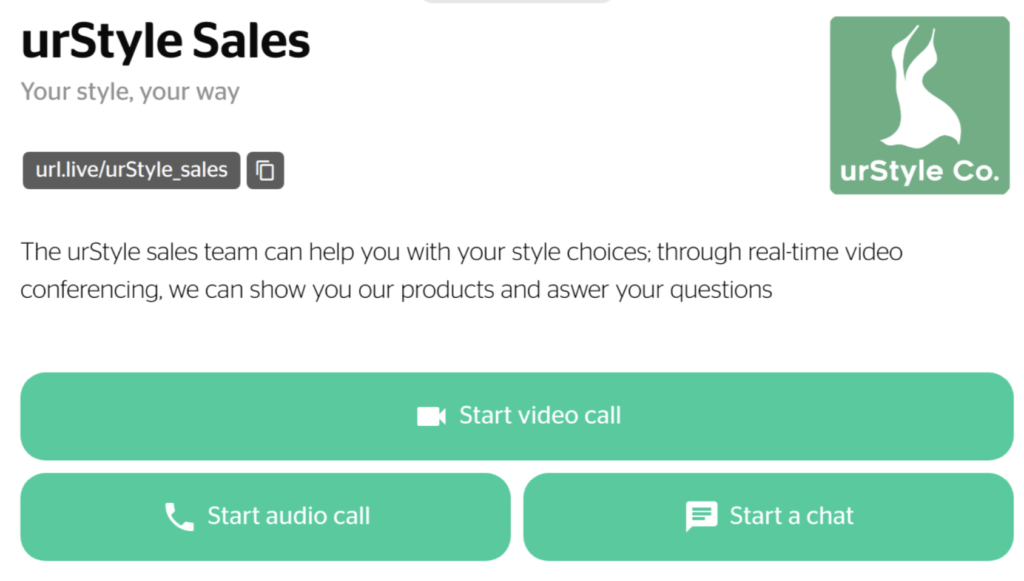
7) Adam edits the team page, customising the profile appearance and information, changes team notification time settings, and customizes the apperance of the customer call screen. He does so by following the steps outlined in the How to Edit the Team Page, How to Change Team Member Notification Settings, and How to Customize the Customer Call Screen articles. The changed sections of the team page now look like this:
For more information on how to do this, see the How to Edit the Team Page article linked above.
For more information on how to do this, see the How to Change Team Member Notification Settings article linked above.
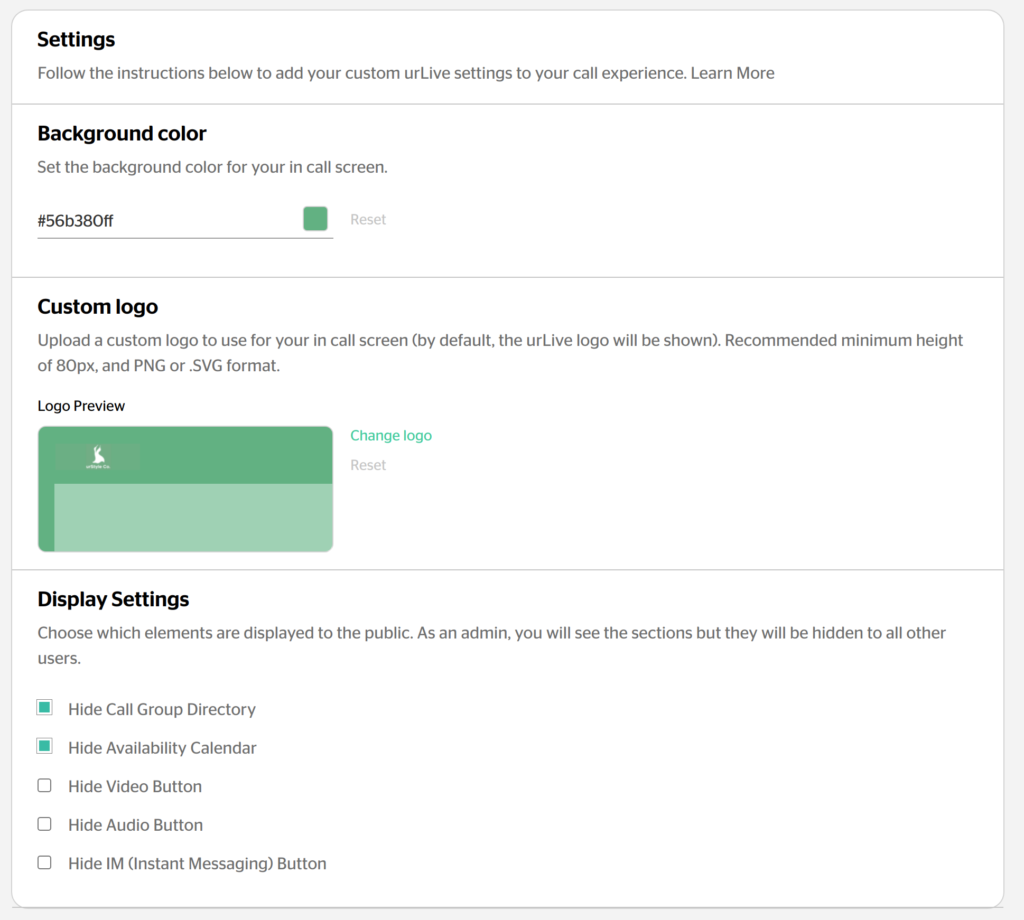
For more information on how to do this, see the How to Customize the Customer Call Screen and How to Edit the Team Page articles mentioned above.
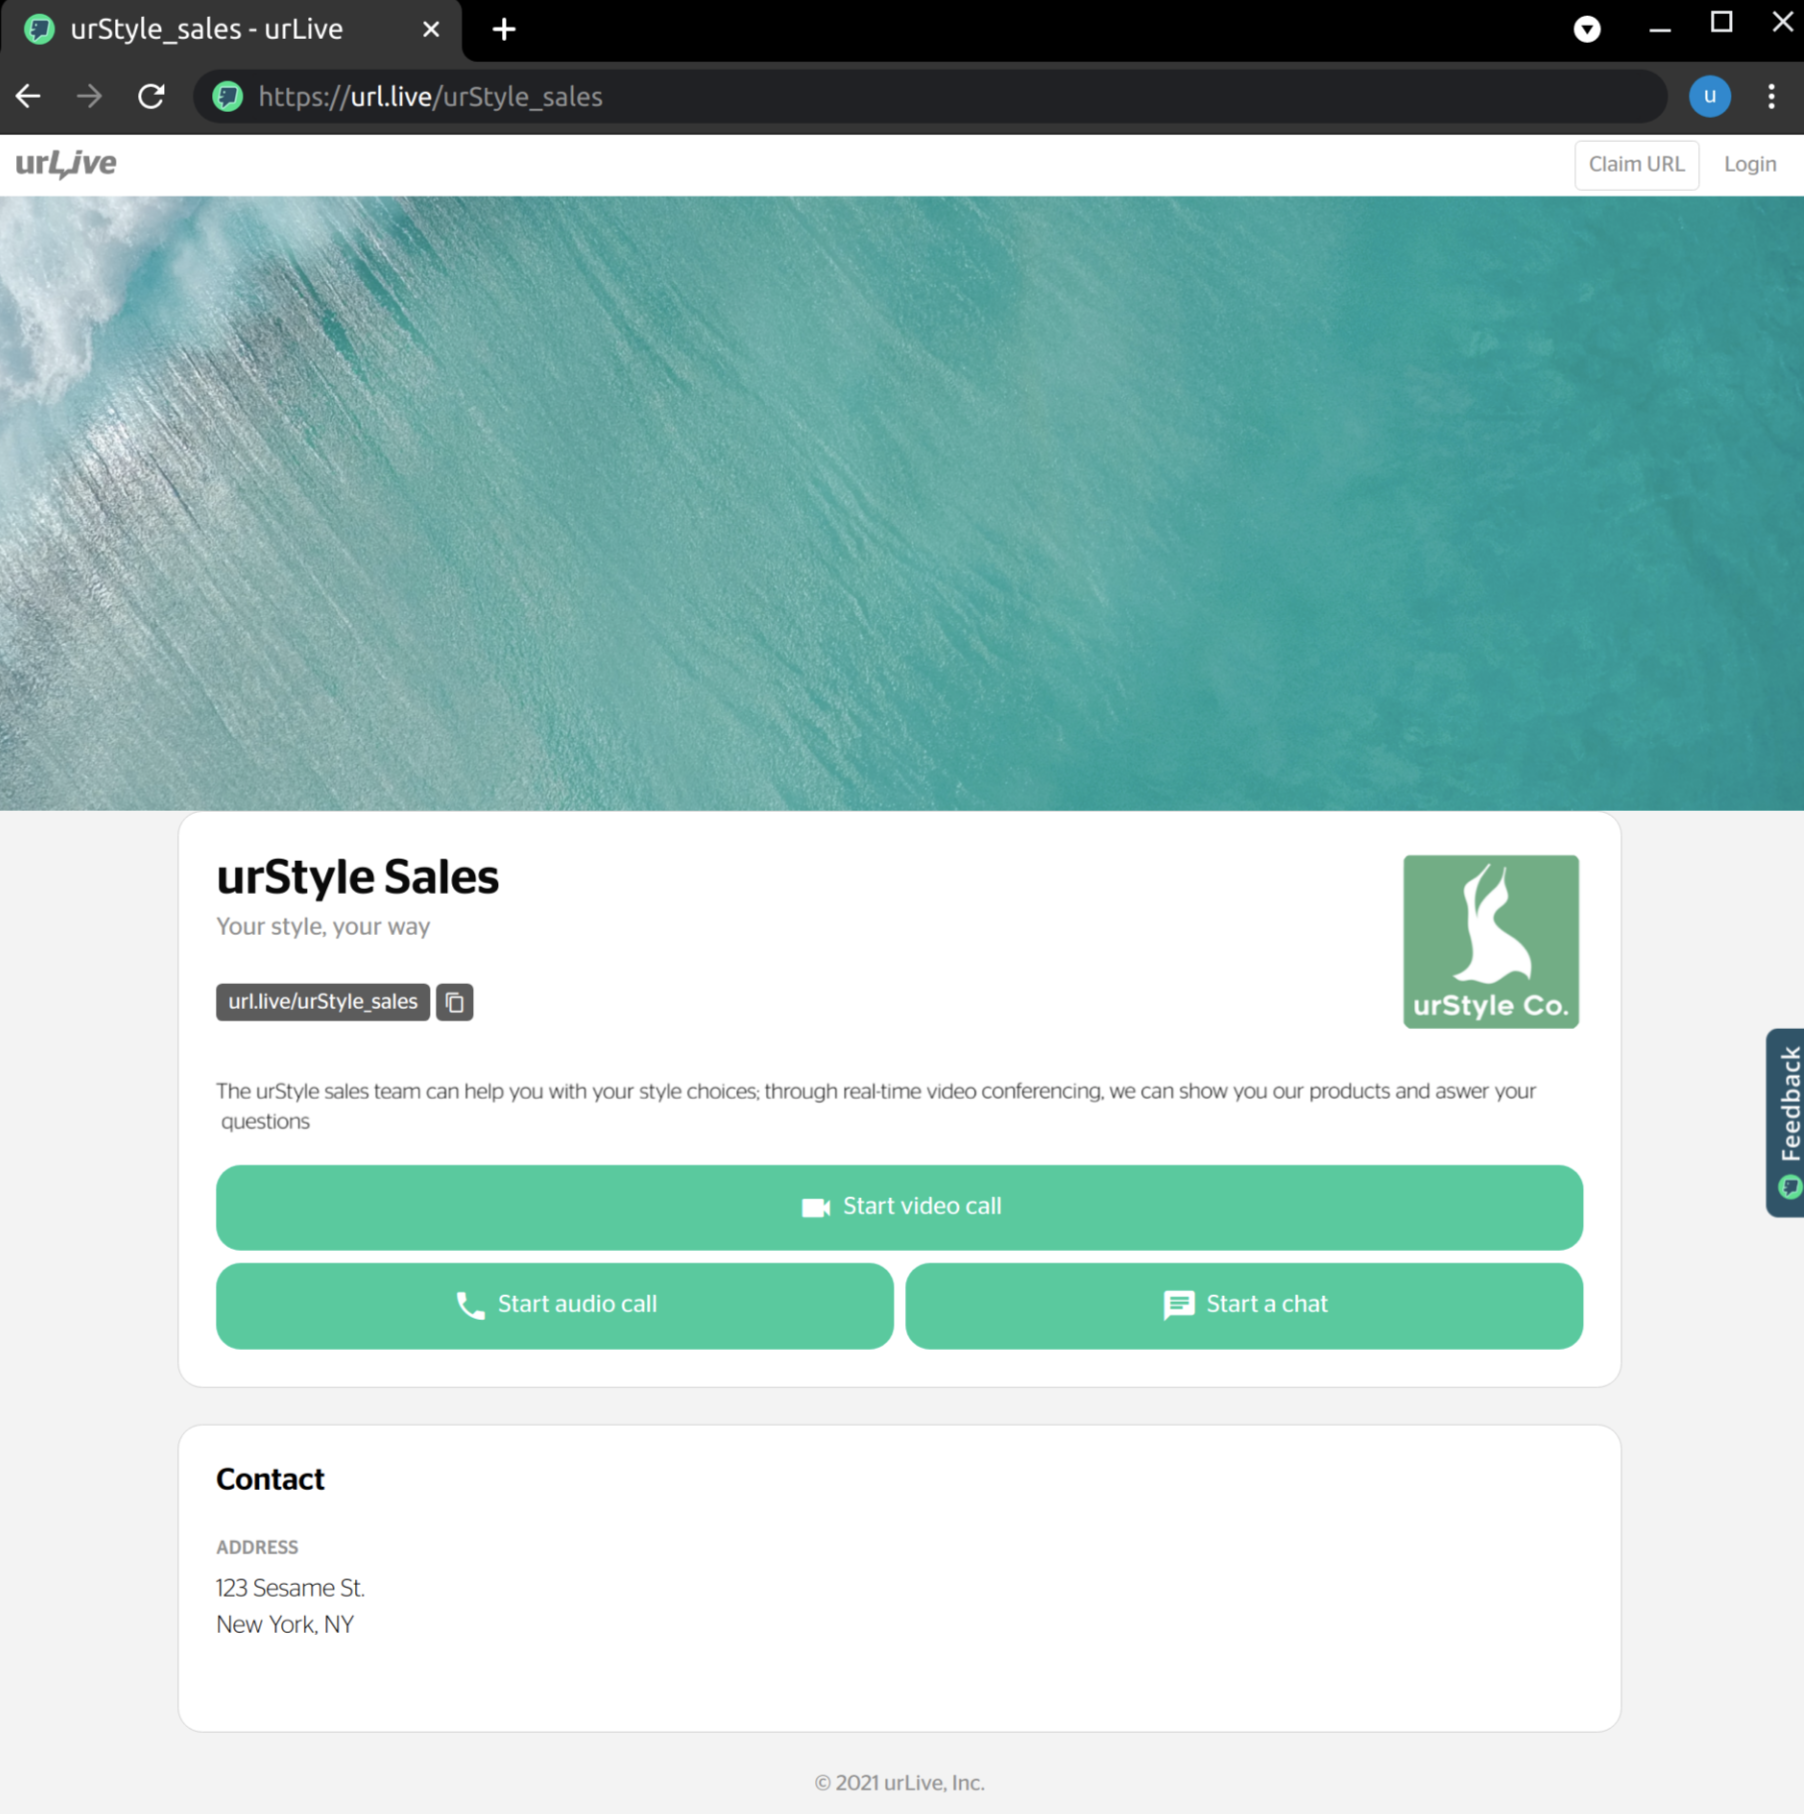
- The public team page, as seen by non-admin members and customers, looks like this:
Using the Team
Now that the team page is set up, the urStyle sales team can start using it. They created this team in order to allow customers to have an online “try before you buy” experience, so that customers feel more comfortable purchasing urStyle products. They put a link to their team page up on their online store.
A customer looking to buy a dress for an upcoming formal event clicks the link to the team page, and clicks Video Call. The call comes through first on Adam’s urLive dashboard, but he is busy, and does not answer. Next in line is Mai, the call comes through to her 5 seconds after Adam, as her notification settings dictate. Mai, the fashion consultant who works from home, picks up the call.
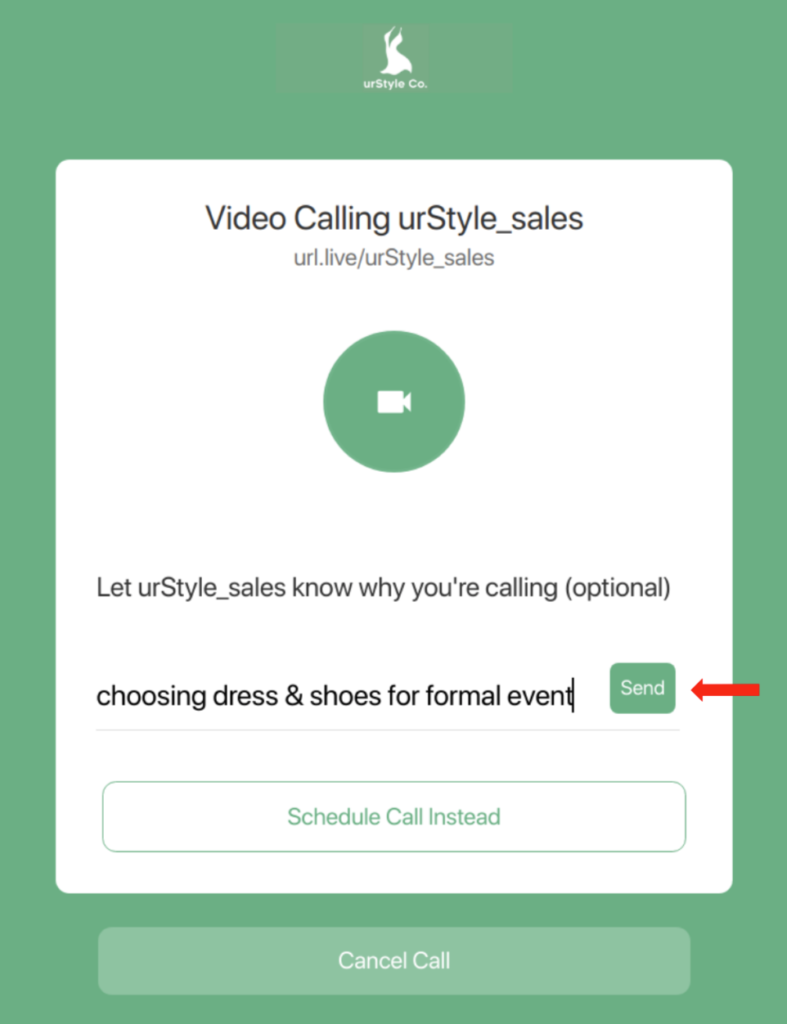
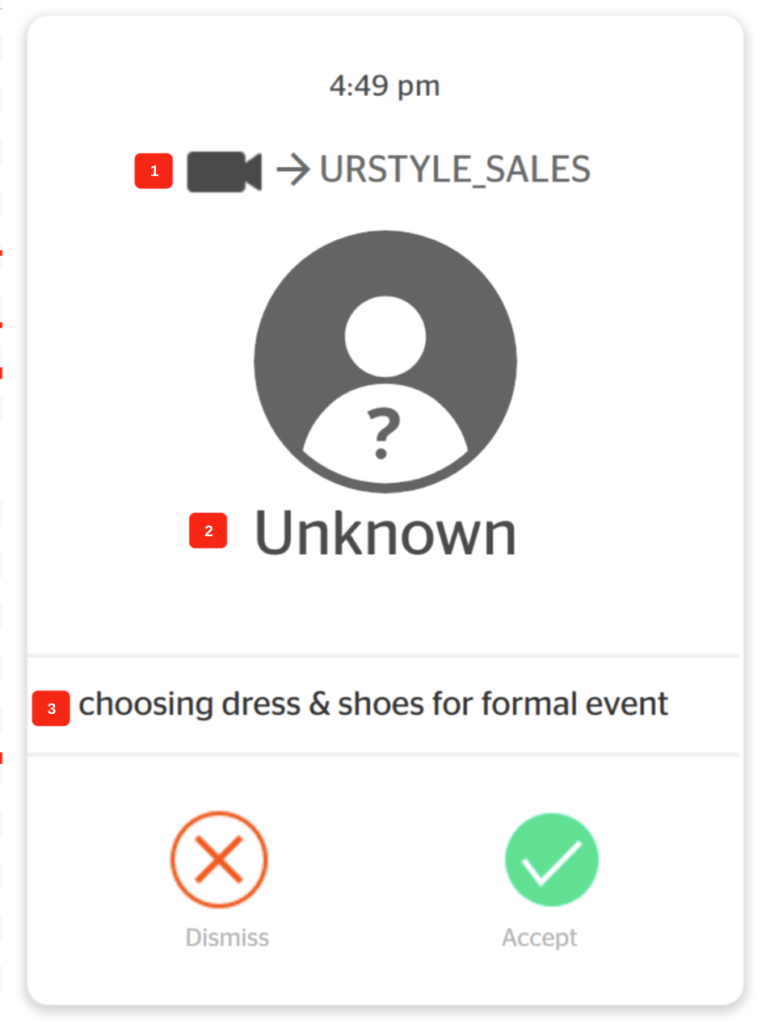
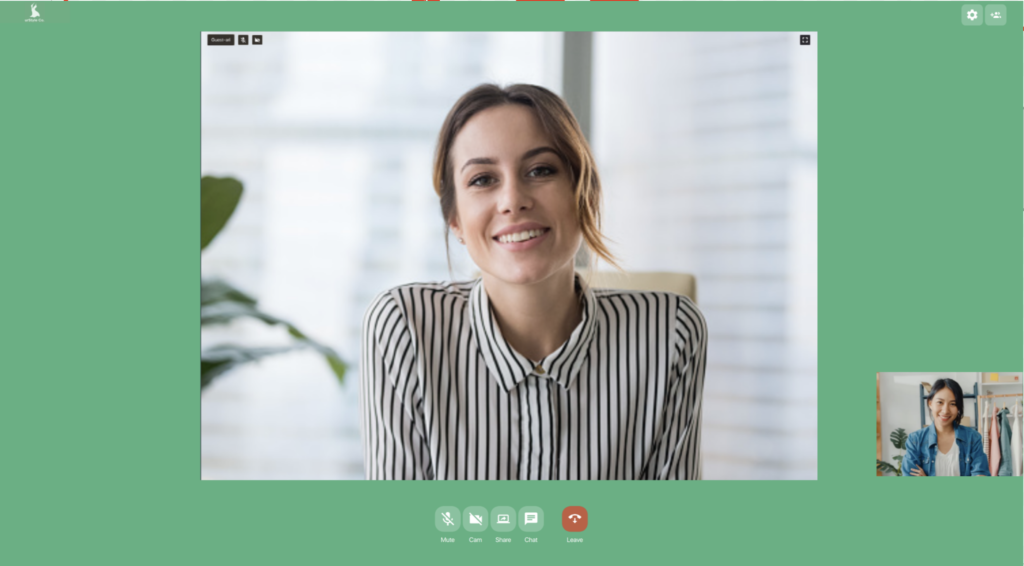
The customer tells Mai that she needs help choosing a dress and shoes for a formal event. Mai, the fashion consultant expert, tells her about a few options. The customer likes the sound of Mai’s ideas, but wants to see the dresses and shoes through the video chat, so she can decide whether she likes the materials, and colours before she buys them. Mai adds in-store employees Amber, the clothing specialist, and Liam, the shoe specialist, to the call.
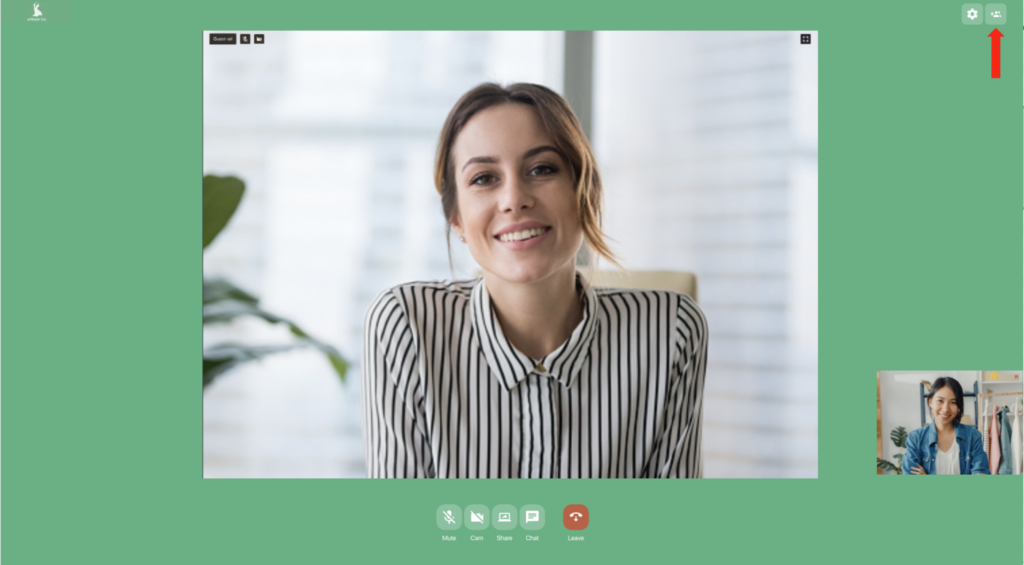


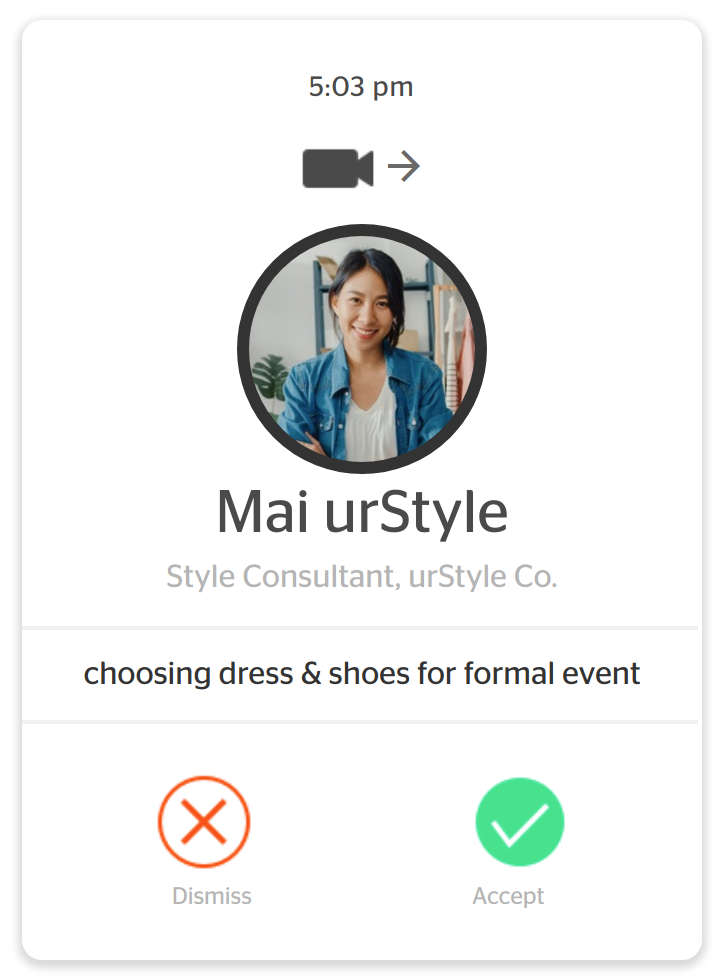
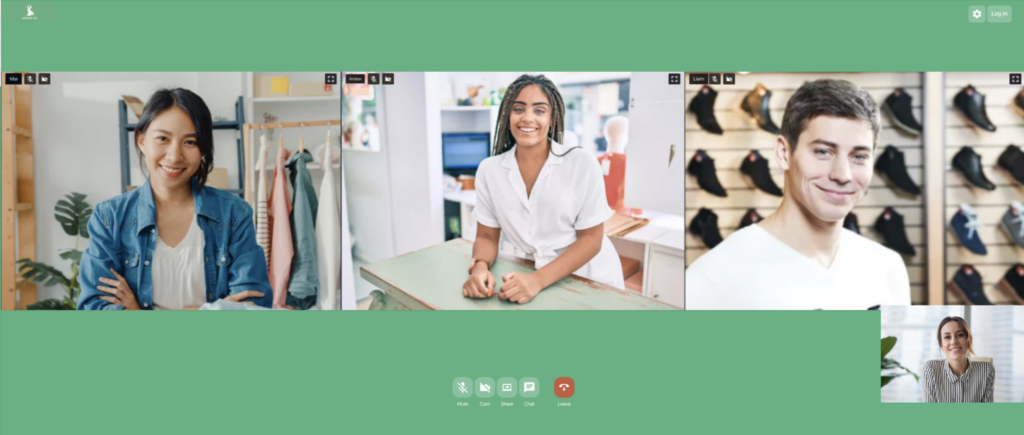
Once Amber and Liam are on the call, Mai is no longer needed, so she leaves the call by clicking the Leave button at the bottom of her screen.
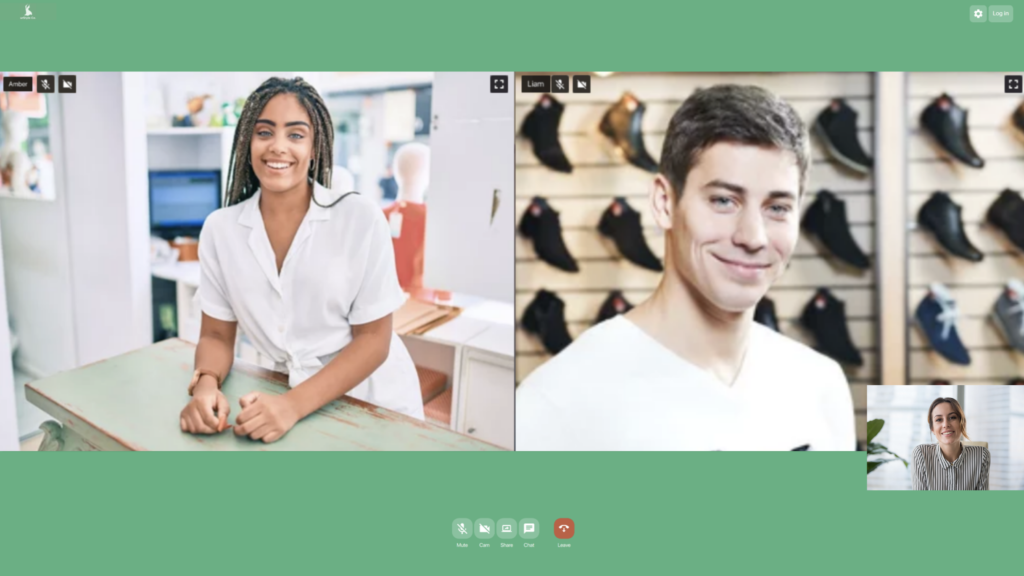
The customer finishes her call with Liam and Amber, after she is satisfied with what they have to show her. The customer purchases her choices, feeling comfortable now that she has been shown all the products she wants to see. The customer hangs up the call by clicking the Leave button at the bottom of her screen.
